Lesson 8: Your First Send Transaction
🎧 Lesson Podcast
🎬 Video Overview
Lesson 8: Your First Send Transaction
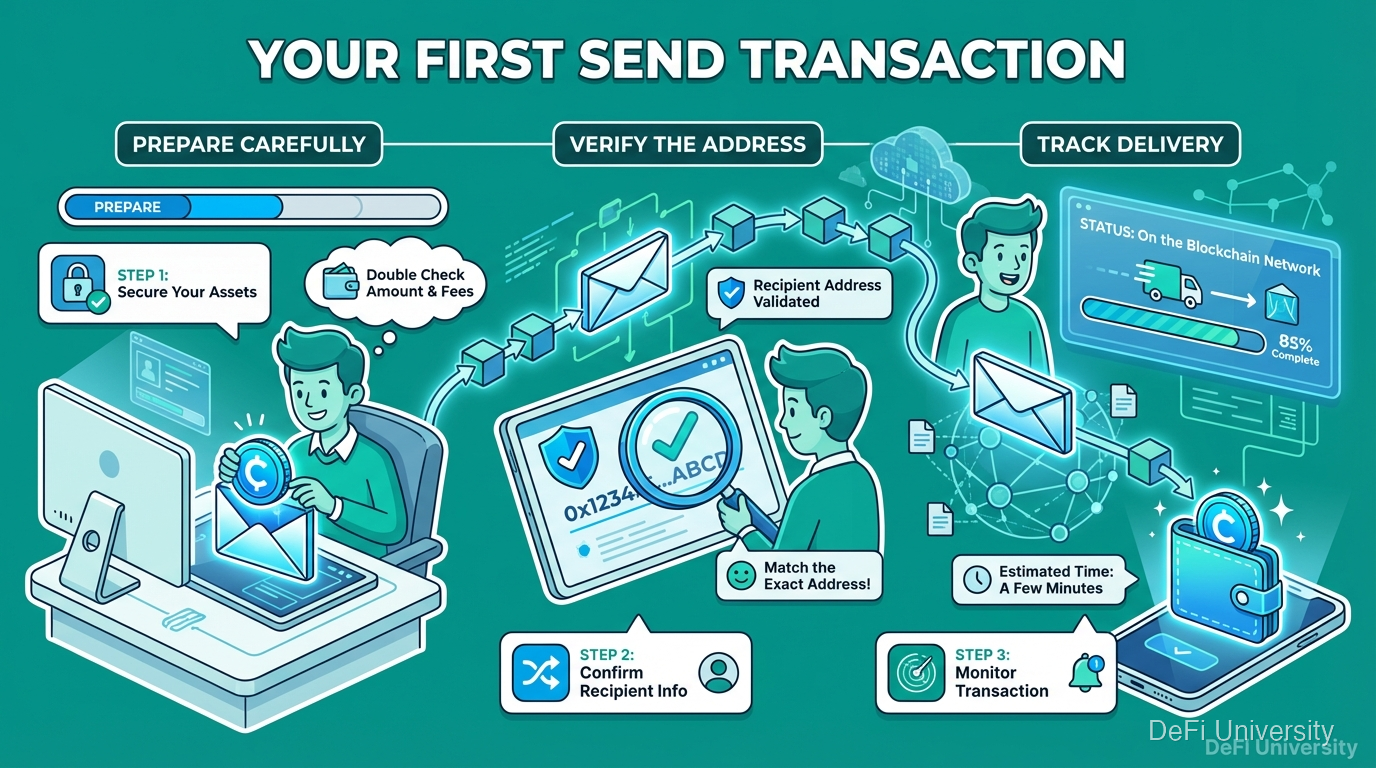
Core concept: Sending crypto is like mailing a valuable package—prepare carefully, verify the address, and track delivery.
Mailing a Package with Tracking

When you ship something valuable:
Pack it carefully
Write the address clearly
Double-check the address
Choose your shipping speed
Get tracking information
Confirm delivery
Sending crypto follows similar steps:
Prepare your wallet/exchange
Enter the recipient address
Verify everything carefully
Select your fee/speed
Get a transaction ID
Confirm receipt on blockchain
The difference: no undo. If you ship to the wrong address with FedEx, you might get it back. With blockchain, probably not.
Before You Send: Preparation Checklist
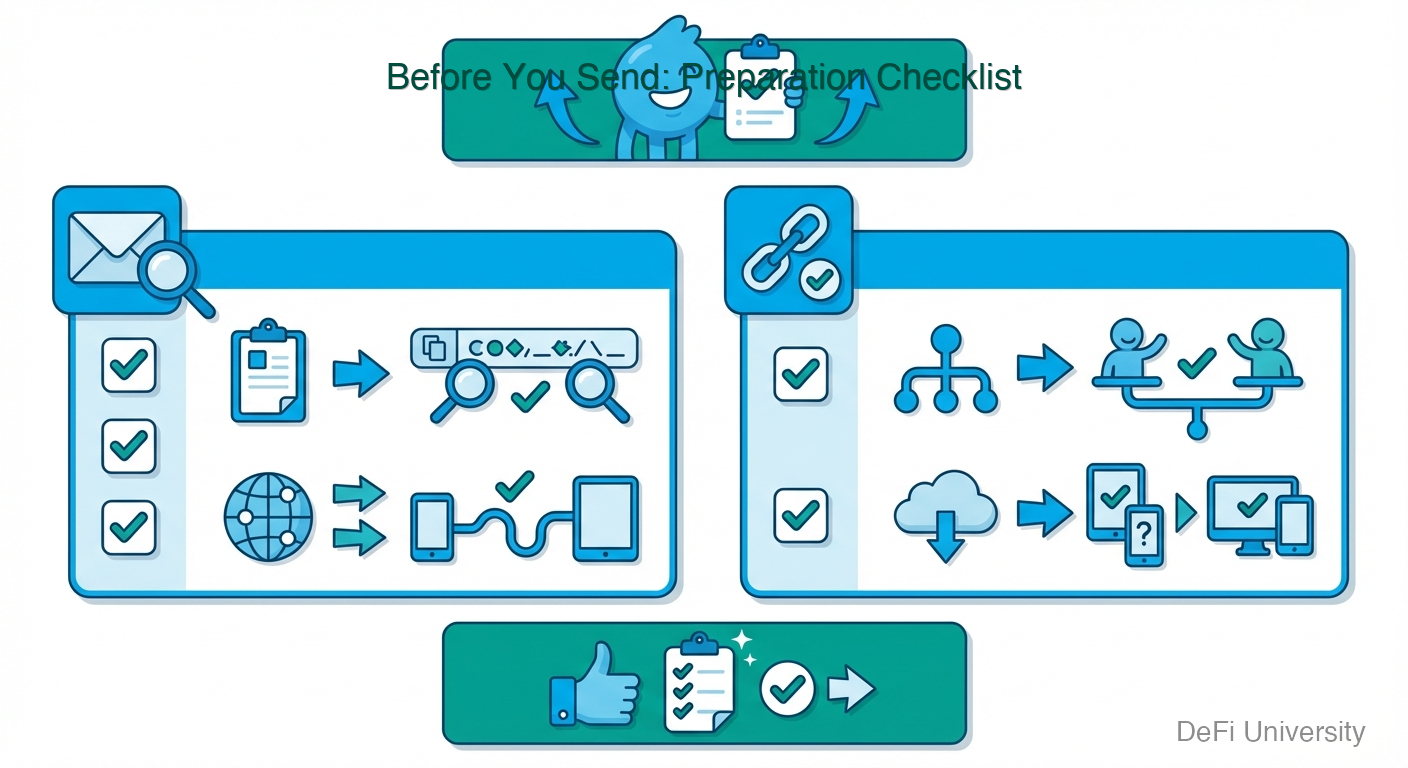
Before initiating any transaction, verify:
☐ Recipient address is correct
Copied from reliable source
First and last characters match
☐ Network matches
Both you and recipient using same network
Recipient supports this network
☐ Amount is correct
Double-check the number
Confirm decimal places
☐ You have enough for fees
Transaction amount + gas fees ≤ your balance
Fee estimate looks reasonable
☐ Test amount first (for large sends)
Send small amount
Confirm receipt
Then send the rest
Step-by-Step: Sending from a Wallet
Using a self-custody wallet (MetaMask, Trust Wallet, etc.):
Step 1: Open your wallet and select asset Navigate to the token you want to send.
Step 2: Click "Send" or "Transfer" This opens the send interface.
Step 3: Paste recipient address Always copy-paste, never type manually. Then verify first/last characters.
Step 4: Enter amount Type the amount or use "Max" (careful—leaves nothing for fees).
Step 5: Review transaction details Wallet shows: To address, amount, estimated fee.
Step 6: Adjust gas if needed Some wallets let you choose slow/standard/fast.
Step 7: Confirm Click confirm. May require biometric or password confirmation.
Step 8: Get transaction ID Wallet shows a transaction hash/ID. Save this.
Step-by-Step: Sending from an Exchange
Withdrawing from an exchange to external wallet:
Step 1: Navigate to Withdraw Find the asset in your exchange wallet. Click "Withdraw."
Step 2: Select network Choose the network carefully. Match what your receiving wallet supports.
Step 3: Enter external address Paste the address from your receiving wallet.
Step 4: Complete security checks Exchange may require: email code, SMS code, 2FA code.
Step 5: Enter amount Exchange shows: Amount, network fee, you receive.
Step 6: Review and confirm Triple-check address and network.
Step 7: Wait for processing Exchanges sometimes have withdrawal delays.
Step 8: Check your receiving wallet Once processed, funds appear in your wallet.
Tracking Your Transaction
After sending, you can track progress:
Get your transaction ID (hash): A long string like: 0x7f83b1657ff1fc53b92dc18148a1d65d...
Use a block explorer:
Ethereum: etherscan.io
Bitcoin: blockchain.com or mempool.space
Solana: solscan.io
Search your transaction: Paste the ID to see: status, confirmations, details.
Status meanings:
Pending: Waiting to be included in a block
Confirmed: Included in block, processing
Finalized: Complete, irreversible
Common First-Time Mistakes
Wrong address: Triple-check before confirming.
Wrong network: Verify both sides support the chosen network.
Not enough for fees: Leave buffer for gas.
Impatience: Network congestion causes delays. Don't panic.
Sending all: Using "max" might leave nothing for fees.
Skipping test transaction: For large amounts, always test first.
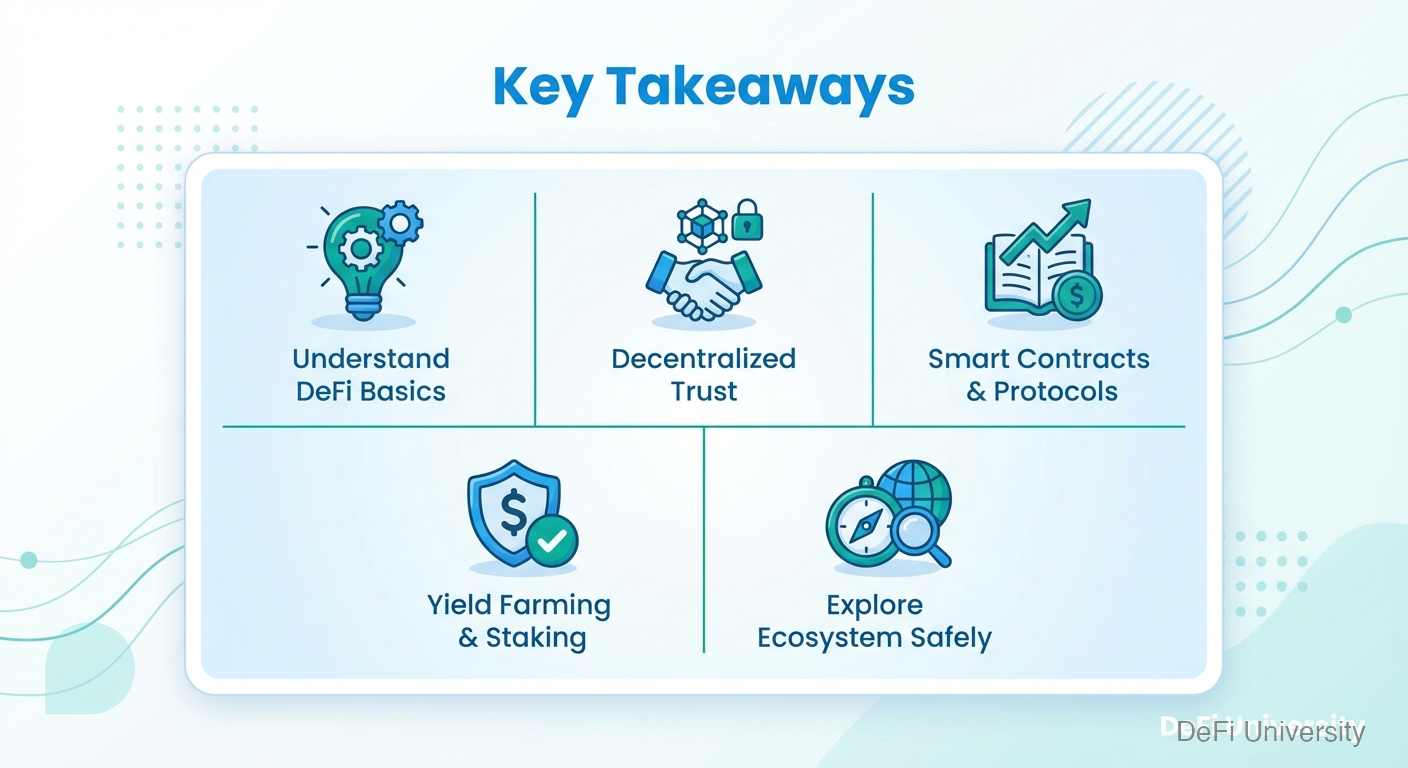
Key Takeaways
Sending crypto is permanent—no undo button, prepare carefully
Follow the checklist: correct address, correct network, enough for fees
Copy-paste addresses, never type—then verify what you pasted
Test with small amount first for significant transactions
Get and save transaction ID—for tracking and records
Use block explorers to verify transaction status
Last updated