Lesson 10: Setting Up Your Own Wallet
🎧 Lesson Podcast
🎬 Video Overview
Lesson 10: Setting Up Your Own Wallet
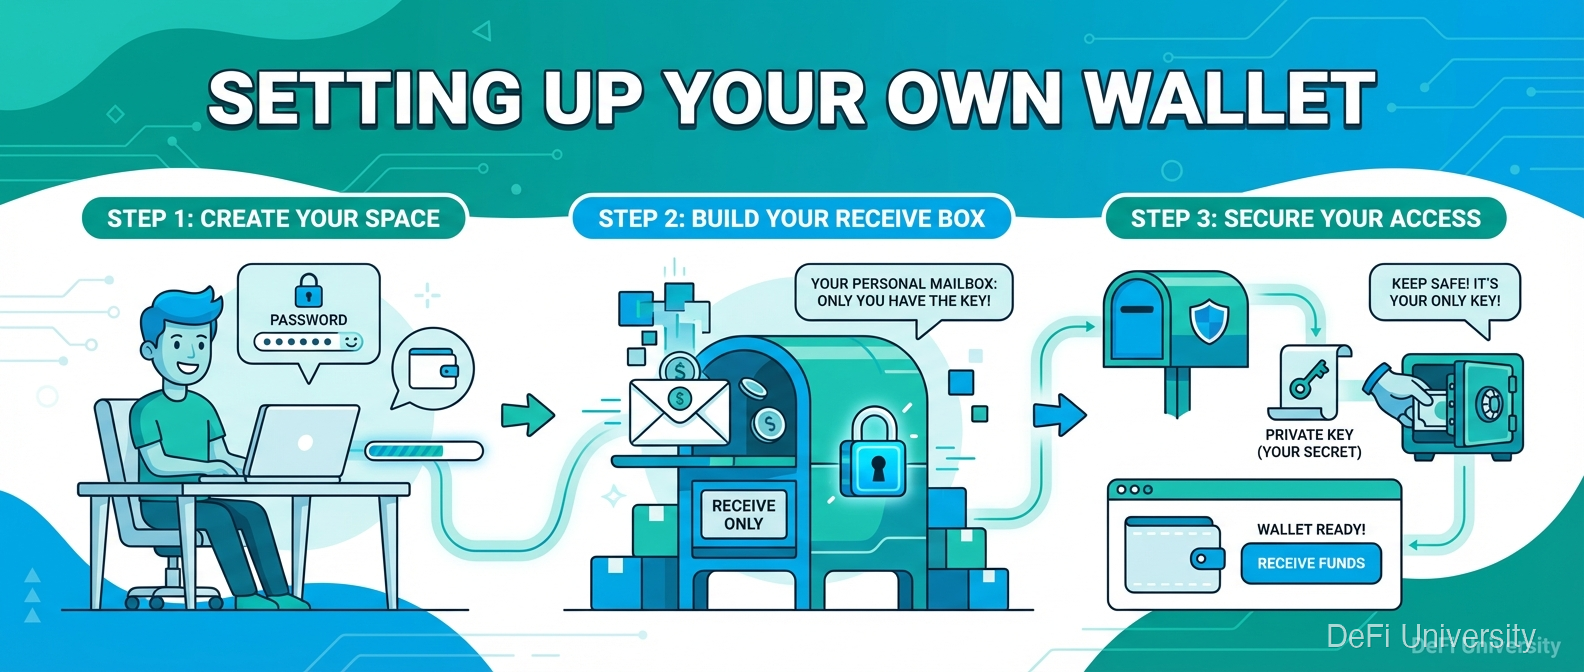
Core concept: Setting up a crypto wallet is like setting up a new mailbox—you're creating a destination for receiving funds that only you can access.
Setting Up a New Mailbox
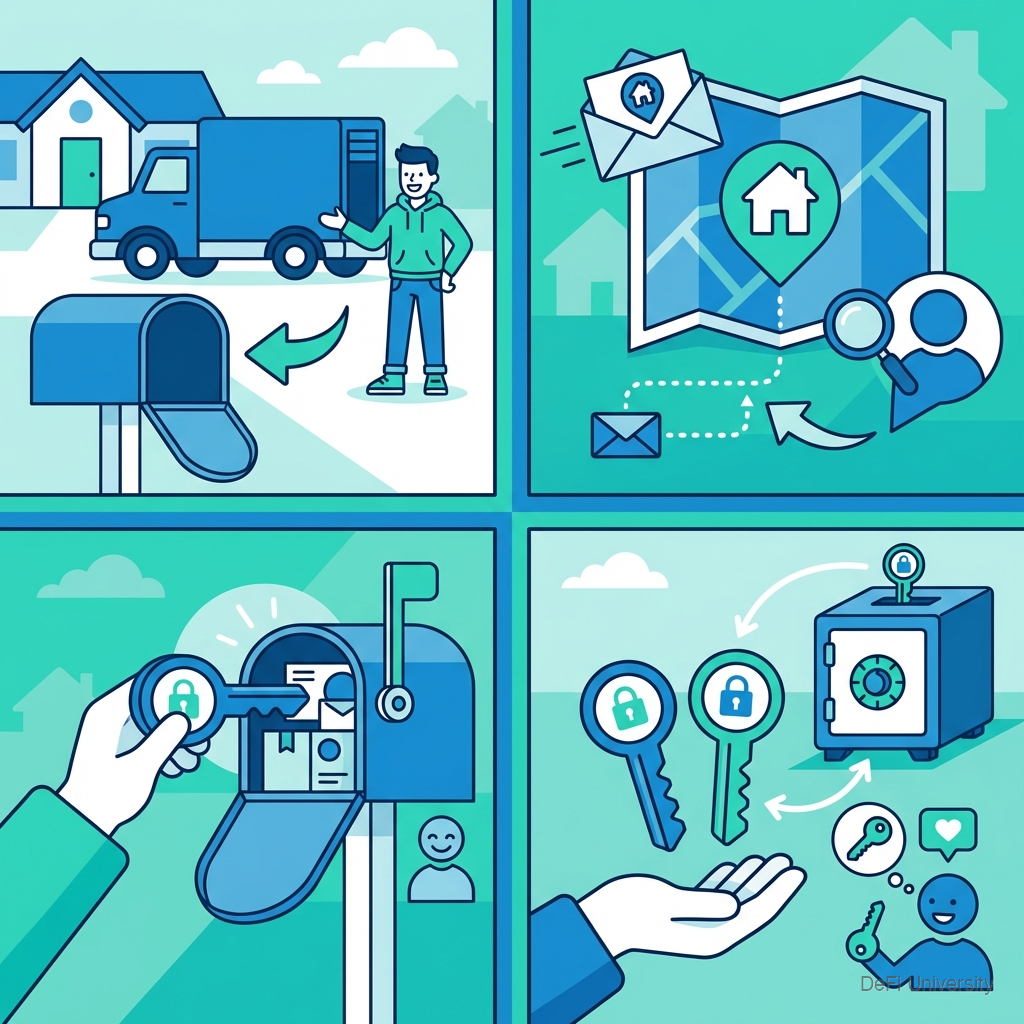
When you move somewhere new:
Get a mailbox (physical infrastructure)
Get the address (where people send things)
Get the key (only you can access contents)
Make a spare key (in case you lose the original)
Setting up a crypto wallet follows similar steps:
Install wallet app (the infrastructure)
Get your address (where people send crypto)
Create your keys (automatically generated)
Backup your seed phrase (your spare key)
Choosing Your First Wallet
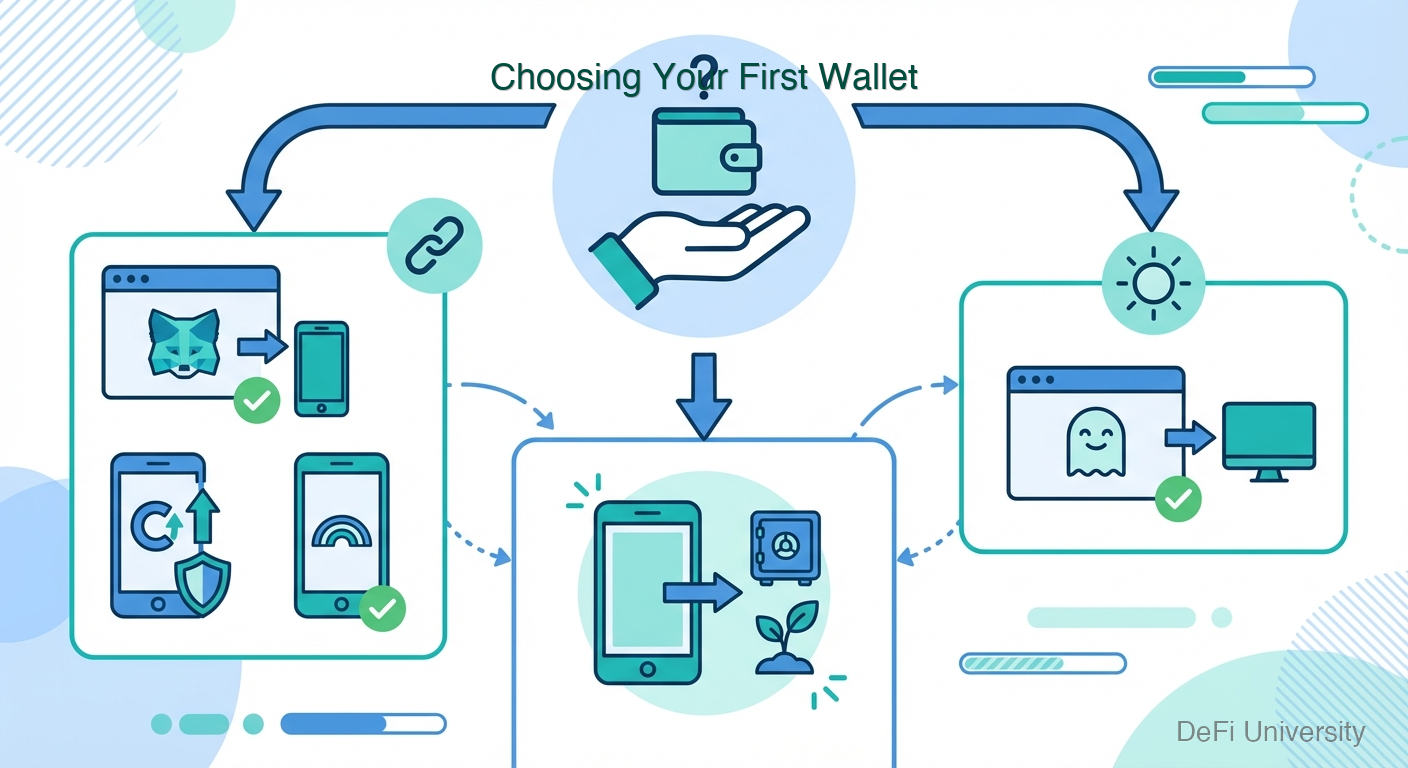
For beginners, start with a reputable hot wallet:
For Ethereum and EVM chains:
MetaMask (browser extension + mobile)
Coinbase Wallet (mobile focused, not the exchange)
Rainbow (mobile, user-friendly)
For Solana:
Phantom (browser + mobile)
Solflare
For multiple chains:
Trust Wallet
Exodus
Choose based on: what chains you'll use, whether you prefer mobile or browser, and reputation.
Step-by-Step: Creating Your Wallet
Using MetaMask as an example (process is similar for others):
Step 1: Download from Official Source Go directly to metamask.io. Verify the URL. Download for your device (browser extension or mobile app).
⚠️ Warning: Fake MetaMask apps exist. Only download from official sources.
Step 2: Create New Wallet Open the app. Select "Create new wallet" (not "Import" unless you have an existing seed phrase).
Step 3: Create Password This password locks the app on your device. Make it strong. This is NOT your seed phrase—it's just local device security.
Step 4: Secure Your Seed Phrase The wallet generates and displays your 12 or 24-word seed phrase.
THIS IS THE MOST CRITICAL STEP:
Write it down on paper
Do not screenshot
Do not store digitally
Do not share with anyone
Do not skip this step
Step 5: Confirm Seed Phrase The app asks you to confirm the words in order. This verifies you wrote them down correctly.
Step 6: Wallet Ready You now have a wallet with an address ready to receive crypto.
Your First Wallet Address
After setup, find your address:
Open wallet
Look for "Receive" or click your account name
See your address (starts with 0x for Ethereum)
Copy or show QR code when needed
This address is safe to share—it's how people send you crypto.
Critical Security Steps
Seed phrase storage:
Write on paper (or metal plate for durability)
Store in secure location (safe, safe deposit box)
Consider multiple copies in different locations
Never store digitally (no photos, no cloud, no notes app)
Device security:
Keep device software updated
Don't install sketchy apps on the same device
Use strong passcode/biometrics
Consider dedicated device for large holdings
App verification:
Only download from official sources
Verify URLs before entering seed phrase anywhere
Legitimate apps will never ask for seed phrase after initial setup
What You Now Have
After setup, you control:
Public address: Share to receive funds
Private key: Stored in wallet app, used to sign transactions
Seed phrase: Master backup that recreates all keys
Independence: No company needed to access your crypto
This is self-custody. You're now your own bank—with all the power and responsibility that implies.
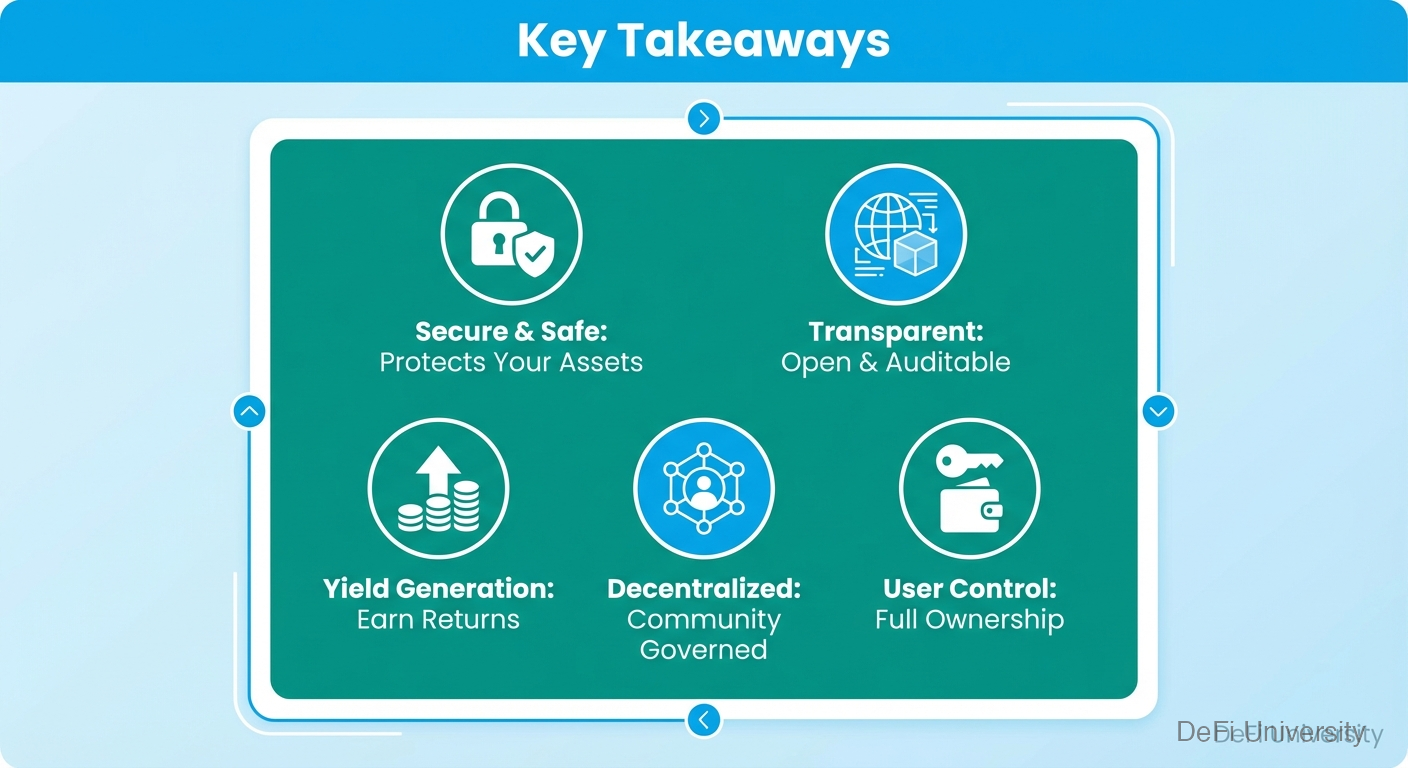
Key Takeaways
Download only from official sources—fake wallets steal funds
Write down seed phrase on paper immediately—most critical step
Never store seed phrase digitally—no screenshots, no cloud, no notes
Password ≠ seed phrase—password locks device app, seed phrase is master key
Your address is safe to share—it's how others send you crypto
You're now self-custodying—full control and full responsibility
Last updated